How Does Water Softener Installation Work?
May 17, 2024
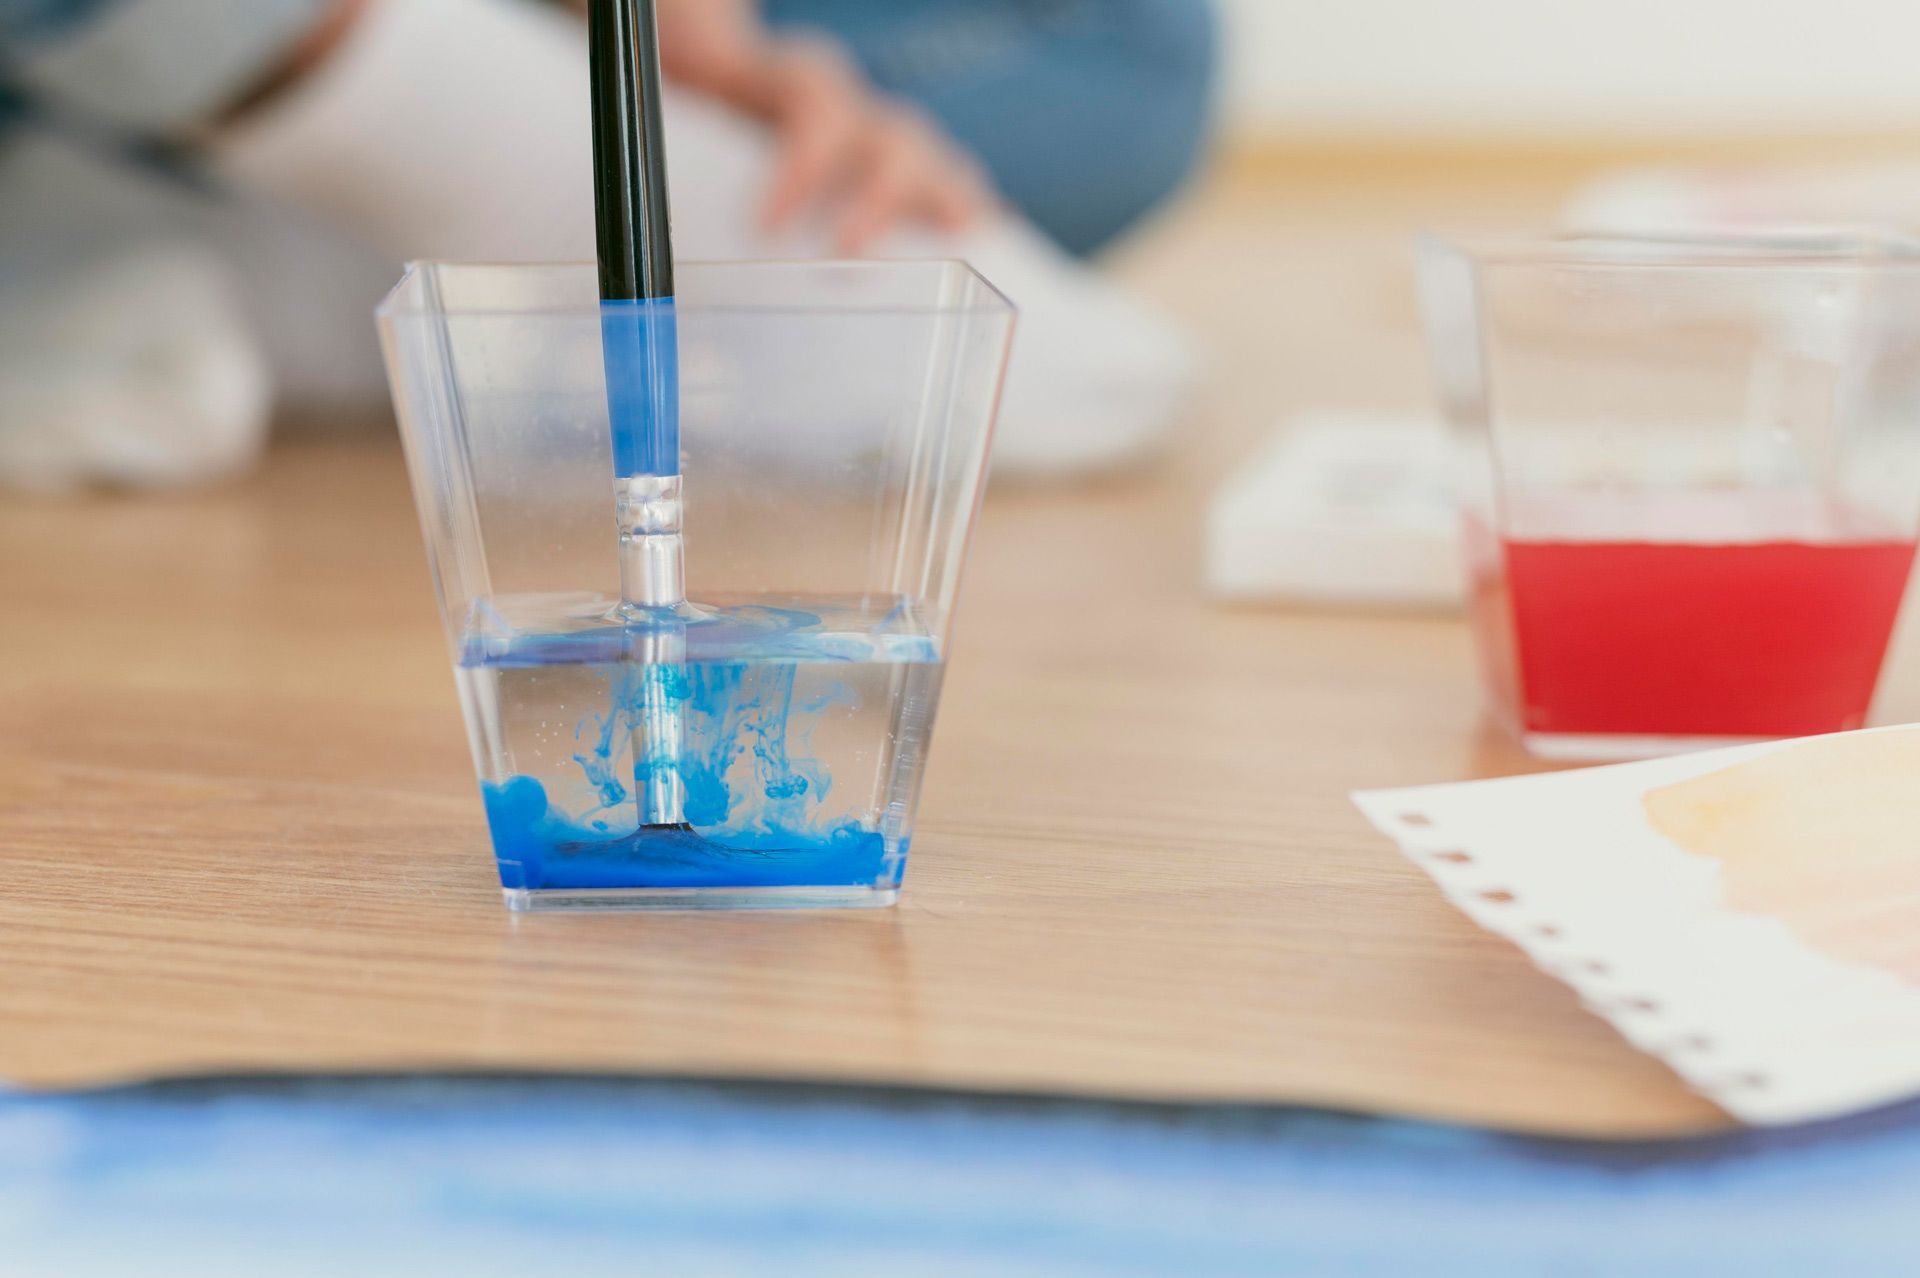
If your faucets are covered in white residue, your shower glass never looks clean, or your appliances wear out faster than they should, hard water is likely the culprit. Installing a water softener can solve all of that — but many homeowners wonder what the installation process actually involves.
This guide walks you through how professional water softener installation works, what to expect during the process, and how to decide whether it’s a DIY job or one best left to a pro.
Why Water Softener Installation Matters
Installing a water softener isn’t just about convenience — it’s about protecting your home’s plumbing, improving water efficiency, and enhancing daily comfort. A properly installed system ensures that every tap in your home delivers soft, treated water free from scale-forming minerals.
In Indiana, where hard water is common, installation done right prevents expensive plumbing damage and extends the life of your water-using appliances.
Step-by-Step Breakdown of the Installation Process
Professional installers follow a specific sequence to make sure your water softener is safe, efficient, and compliant with local codes. Here’s what happens behind the scenes:
1. Site Assessment and Preparation
Before any plumbing work begins, the installer evaluates your water supply and home layout. This includes:
- Measuring your home’s water hardness level
- Calculating household water usage
- Checking available space near the main water line, electrical outlet, and drain
- Reviewing existing plumbing connections
Once the assessment is complete, the right system size and setup location are confirmed.
2. Shutting Off the Water Supply
To prevent leaks, the installer shuts off the main water line and opens a few faucets to relieve any remaining pressure in the pipes.
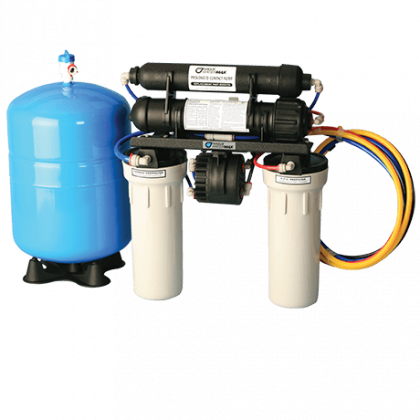
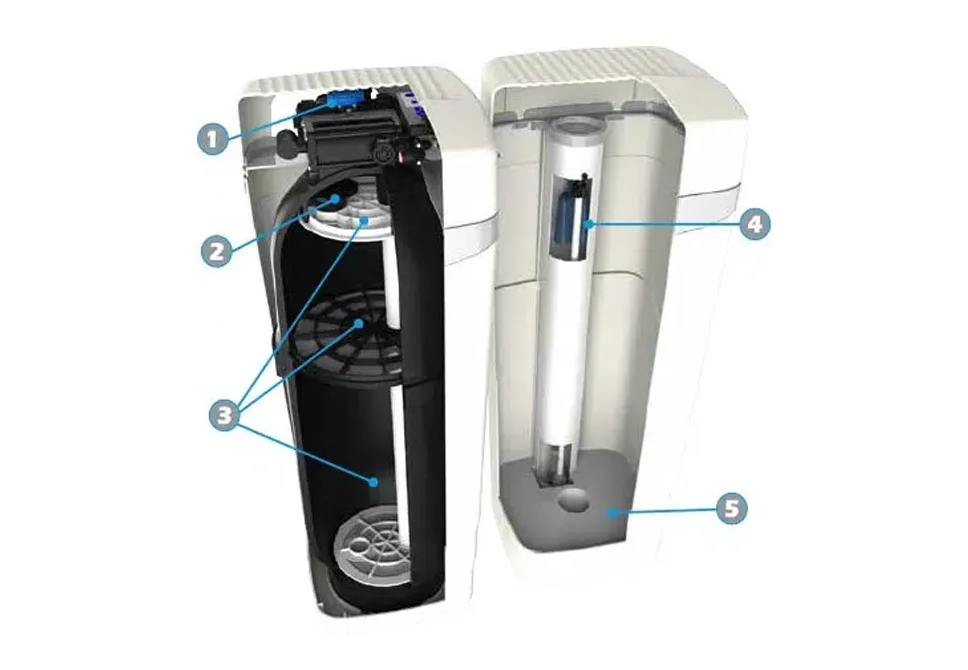
3. Positioning the Softener and Brine Tank
The softener and its brine tank are placed on a level surface close to where the main line enters the home — typically near a utility area or water heater. The location must also allow for salt refilling, drainage, and easy maintenance access.
4. Connecting the Plumbing
This is where precision matters most. The installer:
- Cuts into the main water line and adds a bypass valve so water can flow normally if the system needs service
- Connects the softener’s inlet and outlet to the home’s plumbing
- Attaches the drain line to safely discharge regeneration water
Ensures all joints are sealed and watertight before restoring the water flow
5. Setting Up the Brine Tank
The brine tank is filled with the correct salt type and connected to the softener via a small line. The float valve and overflow connection are tested to prevent overfilling.
6. Programming and Testing the System
Once installed, the system is powered on and programmed based on your water hardness and household use. The installer runs a full regeneration cycle to make sure everything works — checking water flow, leaks, and valve timing.
By the end, your home has fully softened water ready to protect your pipes, appliances, and fixtures.
DIY vs. Professional Installation
Water softener installation looks simple on paper but requires plumbing skills, proper sealing, and system calibration. Here’s what to consider before deciding how to proceed.
The Case for DIY
If you’re experienced with plumbing and have the right tools, installing a softener yourself can save labor costs. Many modern systems include easy-connect fittings and detailed instructions.
- However, DIY isn’t ideal for everyone. You’ll need to:
- Cut into your main water line accurately
- Create secure inlet and outlet connections
- Manage drainage and overflow properly
- Program the system correctly for your home’s hardness
A small mistake could lead to leaks, poor performance, or voided warranties.
Why Professional Installation Is Worth It
Professionals bring experience, tools, and training — especially valuable for Indiana homes with complex plumbing layouts. A certified technician can:
- Ensure compliance with plumbing codes
- Calibrate the system for your exact water hardness
- Check for leaks and confirm system pressure
- Provide a warranty for workmanship
In most cases, the peace of mind and long-term reliability easily outweigh the upfront installation fee.
Common Questions About Installation
- How long does installation take?
Most residential installations are completed within two to four hours, depending on plumbing accessibility and system type.
- Do I need to be home during installation?
Yes. The installer may need access to your main water line, drain, and electrical connections. It’s also helpful so they can explain how to monitor salt levels and system settings afterward.
- Can I put my water softener outside?
It’s best to install it indoors or in a temperature-controlled area. Extreme cold or heat can damage the resin bed or freeze components.
- How soon can I use soft water after installation?
Immediately after the initial regeneration cycle finishes — usually within a few hours of setup.
- How often does the system need maintenance?
Check salt levels every month and schedule a full service inspection annually to keep performance optimal.
Conclusion
Water softener installation is a precise process that involves smart planning, correct plumbing, and expert setup. Whether you do it yourself or call in a professional, getting it right is essential for long-term results.
For Indiana homeowners, a well-installed system means fewer plumbing repairs, more efficient appliances, and better-feeling water throughout the house. Once installed correctly, you’ll immediately notice softer skin, shinier dishes, and a cleaner home overall